

Hey there, fellow engine enthusiasts! As a supplier of 48cc engines, I've had my fair share of experiences with these little powerhouses. One common maintenance task that might come up is replacing the flywheel in a 48cc engine. In this blog, I'll walk you through the process step by step.
Why Replace the Flywheel?
Before we dive into the replacement process, let's talk about why you might need to replace the flywheel. The flywheel in a 48cc engine plays a crucial role in maintaining the engine's rotational stability. It stores kinetic energy and helps smooth out the power delivery. Over time, the flywheel can get damaged due to wear and tear, or it might develop cracks. If you notice issues like rough idling, poor acceleration, or strange noises coming from the engine, it could be a sign that the flywheel needs to be replaced.
Tools You'll Need
First things first, you'll need to gather the right tools for the job. Here's a list of what you'll typically need:
- Socket set: You'll need various socket sizes to remove the bolts holding the flywheel in place.
- Flywheel puller: This is a specialized tool designed to safely remove the flywheel from the engine shaft.
- Torque wrench: To ensure you tighten the bolts to the correct specifications.
- Safety goggles and gloves: Safety first! Protect your eyes and hands from any debris or sharp edges.
Step-by-Step Replacement Process
Step 1: Prepare the Engine
Before you start working on the engine, make sure it's completely cooled down. You don't want to burn yourself on a hot engine. Also, disconnect the spark plug wire to prevent any accidental starts. This is a basic safety precaution that you should never skip.
Step 2: Locate the Flywheel
The flywheel is usually located at the end of the engine shaft, on the side opposite the clutch. It's a large, heavy wheel with a series of magnets on the outer edge. In some 48cc engines, the flywheel might be covered by a protective cover. If that's the case, you'll need to remove the cover first using your socket set.
Step 3: Remove the Bolts
Once you have access to the flywheel, use your socket set to remove the bolts that hold it in place. Be careful not to lose the bolts, as you'll need them when you install the new flywheel. Some engines might have a keyway on the shaft, which helps align the flywheel correctly. Make sure you note the position of the keyway before removing the flywheel.
Step 4: Use the Flywheel Puller
Now it's time to use the flywheel puller. Attach the puller to the flywheel according to the manufacturer's instructions. Usually, you'll need to screw the puller into the holes on the flywheel. Once the puller is securely attached, turn the center bolt of the puller clockwise. This will gradually pull the flywheel off the engine shaft. Be patient and take your time, as forcing the flywheel off could damage the shaft or the flywheel itself.
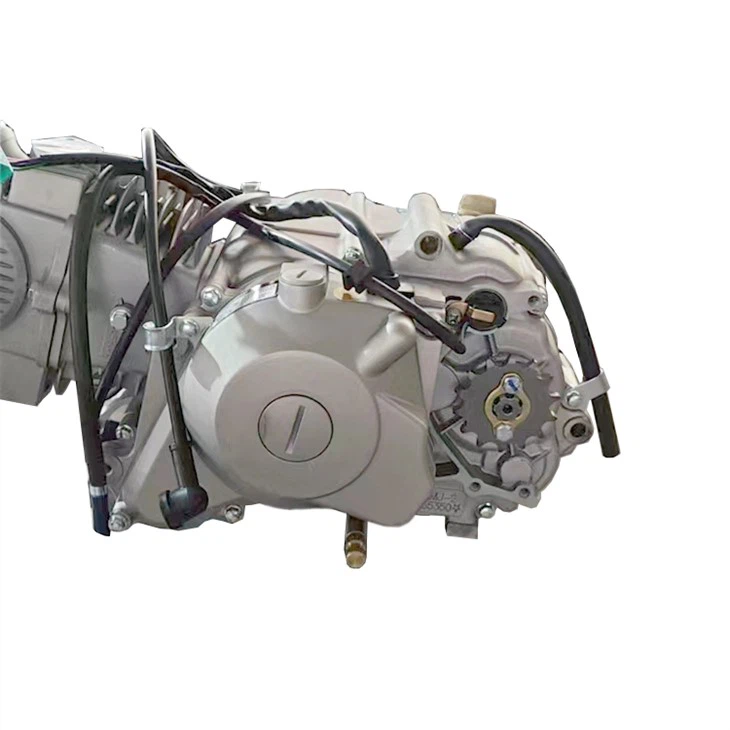

Step 5: Inspect the Shaft and Keyway
With the flywheel removed, take a close look at the engine shaft and the keyway. Check for any signs of damage, such as scratches, dents, or wear. If you notice any issues, you might need to address them before installing the new flywheel. Clean the shaft and the keyway using a clean cloth to remove any dirt or debris.
Step 6: Install the New Flywheel
Now it's time to install the new flywheel. Carefully align the keyway on the flywheel with the keyway on the engine shaft. Make sure the flywheel sits flush against the shaft. Then, insert the bolts and hand-tighten them. Don't fully tighten the bolts yet.
Step 7: Tighten the Bolts
Using your torque wrench, tighten the bolts to the manufacturer's recommended torque specification. This is important to ensure that the flywheel is securely attached to the engine shaft. Over-tightening the bolts can cause damage, while under-tightening can lead to the flywheel coming loose during operation.
Step 8: Reinstall the Protective Cover (if applicable)
If you removed a protective cover in Step 2, now is the time to put it back on. Use your socket set to secure the cover with the bolts.
Step 9: Reconnect the Spark Plug Wire
Finally, reconnect the spark plug wire. Double-check that everything is properly installed and tightened before starting the engine.
Other Engine Options
If you're interested in other engine options, we also offer some great products. For example, the TS300 Two-stroke 300CC Engine Assembly For KTM300 is a powerful and reliable engine for motorcycle enthusiasts. It offers great performance and is built to last.
Another option is the Cd70 Kick Start Engine for Jh70 Motorcycle. This engine is known for its simplicity and ease of use. It's a great choice for those looking for a basic yet efficient engine for their motorcycle.
And if you're in need of a smaller engine, the 140CC Horizontal Engine Oil Cooled Motorblok Engine For Yinxiang is a great option. It's designed to provide good power and fuel efficiency in a compact package.
Conclusion
Replacing the flywheel in a 48cc engine might seem like a daunting task, but with the right tools and a little patience, it's definitely doable. By following the steps outlined in this blog, you can ensure that your engine continues to run smoothly. If you have any questions or need further assistance, don't hesitate to reach out to us. We're here to help you with all your engine needs. Whether you're looking to replace a flywheel or purchase a new engine, we're your go-to supplier. Contact us today to start a procurement negotiation and find the perfect engine for your needs.
References
- Motorcycle Engine Repair Manuals
- Manufacturer's Specifications for 48cc Engines


