Replacing a differential in a motorcycle engine is a task that requires technical know - how and the right set of tools. As a motorcycle engine supplier, I've seen many enthusiasts and professional mechanics alike grappling with this complex yet crucial maintenance procedure. In this blog, I'll guide you through the process of replacing a differential in a motorcycle engine, if applicable.
1. Understanding the Role of the Differential in a Motorcycle Engine
Before we dive into the replacement process, it's essential to understand what a differential does. In a motorcycle, the differential (also known as the final drive in some cases) is responsible for transferring power from the engine to the wheels. It allows the wheels to rotate at different speeds when the motorcycle is turning, ensuring smooth and stable handling.
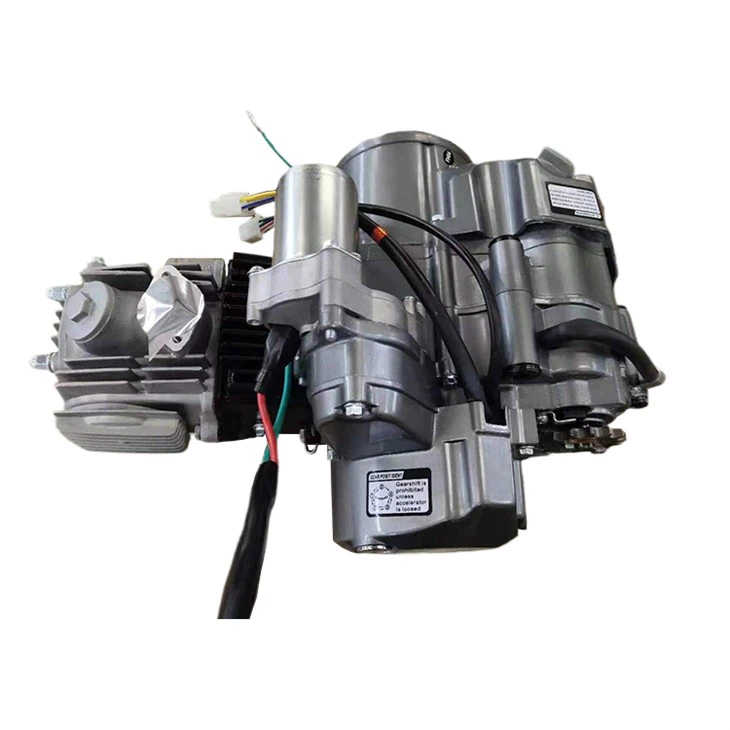
Not all motorcycles have a traditional differential like cars. Most street motorcycles use chain, belt, or shaft drives. However, some high - performance, off - road, or specialty motorcycles may feature a differential mechanism. For instance, our 140cc Lifan Engine Assembly for 140 Air - cooled for Off - road Motorcycle is designed for off - road use, and in some custom setups, a differential replacement might be necessary.
2. Pre - replacement Preparations
2.1 Gather the Necessary Tools
You'll need a comprehensive set of tools, including socket wrenches, spanners, a torque wrench, a pry bar, a jack, and jack stands. A set of metric and standard tools is usually required as motorcycle components can vary in size.
2.2 Safety First
Ensure you're working in a well - ventilated area. Wear appropriate safety gear such as gloves, safety glasses, and a dust mask. Disconnect the battery to prevent any electrical hazards during the replacement process.
2.3 Inspect the New Differential
Before starting the replacement, thoroughly inspect the new differential. Check for any signs of damage, and ensure all the components are present. If you're using one of our engines like the CB150 CB200 Engine 150 Dirt Bike Engine Kit For Yinxiang All Kinds Of Two - wheeled Motorcycles, make sure the differential is compatible with your motorcycle's specifications.
3. Removing the Old Differential
3.1 Drain the Fluids
Locate the differential fluid drain plug and place a drain pan beneath it. Remove the plug and allow the fluid to drain completely. This fluid is often contaminated with metal shavings and debris, so it's crucial to dispose of it properly.
3.2 Remove the Drive Shaft
Using the appropriate wrenches, remove the bolts securing the drive shaft to the differential. Carefully slide the drive shaft out, taking note of its position and orientation.
3.3 Disconnect the Wiring and Linkages
If there are any electrical connections or linkages attached to the differential, carefully disconnect them. Label each connection to ensure proper reinstallation later.
3.4 Remove the Differential Housing Bolts
Locate the bolts that secure the differential housing to the motorcycle frame or engine. Use a socket wrench to loosen and remove these bolts. Keep the bolts organized to avoid losing them.
3.5 Extract the Old Differential
Once all the bolts are removed, use a pry bar to gently separate the differential housing from the frame or engine. Carefully lift out the old differential and set it aside.
4. Installing the New Differential
4.1 Clean the Mounting Surfaces
Before installing the new differential, clean the mounting surfaces on the motorcycle frame or engine. Remove any dirt, debris, or old gasket material. A clean surface ensures a proper seal and reduces the risk of leaks.
4.2 Apply Gasket Sealant
If required, apply a thin layer of gasket sealant to the mating surfaces of the differential housing and the frame or engine. This helps prevent fluid leaks.
4.3 Position the New Differential
Carefully lower the new differential into place, aligning it with the mounting holes. Make sure it sits flush against the frame or engine.
4.4 Reinstall the Bolts
Insert the bolts into the mounting holes and hand - tighten them initially. Then, use a torque wrench to tighten the bolts to the manufacturer's specified torque settings. Over - tightening can damage the components, while under - tightening can lead to leaks and instability.
4.5 Reconnect the Drive Shaft
Slide the drive shaft back into place and secure it with the bolts. Tighten the bolts to the appropriate torque.
4.6 Reconnect the Wiring and Linkages
Reconnect all the electrical connections and linkages, following the labels you made during removal.
5. Filling with Fluid
Once the new differential is installed, fill it with the recommended type and amount of differential fluid. Check the owner's manual or the engine specifications for the correct fluid. Use a funnel to pour the fluid slowly into the fill hole until it reaches the appropriate level.
6. Post - installation Checks
6.1 Check for Leaks
After filling the differential with fluid, start the motorcycle and let it run for a few minutes. Check around the differential housing and all the connections for any signs of fluid leaks.
6.2 Test the Motorcycle
Take the motorcycle for a short test ride in a safe area. Pay attention to how the motorcycle handles, especially when turning. Listen for any unusual noises coming from the differential.
7. When to Consider Differential Replacement
If you notice any of the following signs, it might be time to replace the differential:
- Unusual noises such as whining, grinding, or clunking when the motorcycle is in motion.
- Difficulty in turning or handling, especially at low speeds.
- Excessive vibration in the motorcycle.
- Fluid leaks around the differential housing.
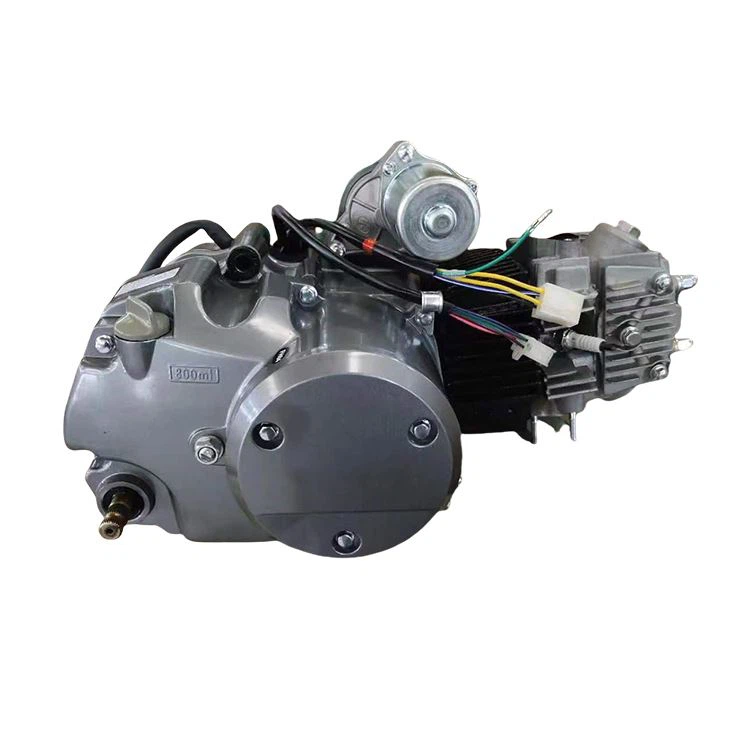
If you're using our 110cc Engine Motor Kit Semi Auto For Honda ATC 70 CT90 CT110 Z50 CRF50 XR and experience any of these issues, differential replacement could be a solution.
Conclusion
Replacing a differential in a motorcycle engine is a challenging but achievable task. By following the steps outlined in this blog, you can ensure a successful replacement. As a motorcycle engine supplier, we're committed to providing high - quality engines and components. If you have any questions about differential replacement or are interested in purchasing our motorcycle engines, we encourage you to contact us for further discussion and procurement. Our team of experts is ready to assist you with all your motorcycle engine needs.
References
- Motorcycle Repair Manuals: Various manufacturers' official repair manuals provide detailed information on engine components and replacement procedures.
- Online Motorcycle Forums: Enthusiast forums are a great source of real - world experiences and tips related to motorcycle maintenance.


