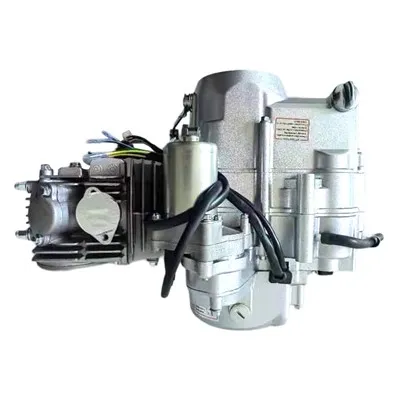
Hey there, fellow motorcycle enthusiasts! As a supplier of 110cc clutches, I've seen a lot of riders struggling with clutch adjustment. Today, I'm gonna share with you some tips on how to adjust a 110cc clutch properly. Whether you're a seasoned rider or just starting out, these steps will help you keep your clutch in top-notch condition.
Why Adjust Your 110cc Clutch?
First off, let's talk about why clutch adjustment is so important. A well-adjusted clutch ensures smooth gear shifts, prevents slipping, and extends the lifespan of your clutch plates. If your clutch is too loose, you might experience slipping gears, which can lead to poor acceleration and increased wear on the clutch. On the other hand, if it's too tight, it can cause premature clutch plate wear and make it difficult to shift gears. So, getting that adjustment just right is crucial for optimal performance.
Tools You'll Need
Before you start adjusting your 110cc clutch, you'll need a few tools. Here's a list of what you'll typically need:
- A set of wrenches (usually a combination of metric wrenches)
- A screwdriver (both flathead and Phillips, depending on your clutch design)
- A clutch adjustment gauge (optional but helpful for precise adjustment)
Step-by-Step Guide to Adjusting Your 110cc Clutch
Step 1: Locate the Clutch Adjustment Points
The first thing you need to do is find the clutch adjustment points on your motorcycle. On most 110cc bikes, there are two main adjustment points: one at the clutch lever on the handlebar and another at the clutch cable near the engine.
The clutch lever adjustment is usually a small screw or nut located at the base of the lever. This adjustment allows you to fine-tune the free play of the clutch lever. The free play is the amount of movement the lever has before it starts engaging the clutch.
The clutch cable adjustment near the engine is a bit more involved. It's usually a nut or a locknut that you can turn to adjust the tension of the cable. This adjustment affects the overall engagement of the clutch.
Step 2: Check the Free Play at the Clutch Lever
Start by checking the free play at the clutch lever. You can do this by gently pulling the clutch lever towards you and feeling for the amount of movement before it starts to engage. The ideal free play at the clutch lever is usually between 10mm and 20mm.
If the free play is too much or too little, you can adjust it using the screw or nut at the base of the lever. Turn the screw clockwise to decrease the free play and counterclockwise to increase it. Make small adjustments and check the free play after each adjustment until you get it within the recommended range.
Step 3: Adjust the Clutch Cable at the Engine
Once you've adjusted the free play at the clutch lever, it's time to adjust the clutch cable at the engine. Loosen the locknut on the clutch cable adjustment and turn the adjustment nut to increase or decrease the tension of the cable.
If the clutch is slipping, you'll want to increase the tension of the cable. If it's too tight and difficult to shift gears, you'll want to decrease the tension. Again, make small adjustments and test the clutch after each adjustment. You can do this by starting the engine, putting the bike in gear, and slowly releasing the clutch lever. The bike should start moving smoothly without any jerking or slipping.

Step 4: Recheck the Free Play at the Clutch Lever
After adjusting the clutch cable at the engine, recheck the free play at the clutch lever. Sometimes, adjusting the cable at the engine can affect the free play at the lever. If necessary, make further adjustments to the lever adjustment screw to get the free play back within the recommended range.
Step 5: Test Ride Your Motorcycle
Once you're satisfied with the clutch adjustment, take your motorcycle for a test ride. Pay close attention to how the clutch engages and disengages. The gear shifts should be smooth and easy, and there should be no slipping or jerking. If you notice any issues, go back and make further adjustments until everything feels right.
Common Mistakes to Avoid
- Over-tightening the clutch: This can cause premature clutch plate wear and make it difficult to shift gears. Always make small adjustments and test the clutch after each one.
- Not checking the free play regularly: Clutch adjustment can change over time due to normal wear and tear. It's a good idea to check the free play every few hundred miles or as recommended in your motorcycle's owner's manual.
- Using the wrong tools: Make sure you're using the right size wrenches and screwdrivers for your motorcycle. Using the wrong tools can damage the adjustment points and make the adjustment process more difficult.
Our 110cc Clutch Products
As a 110cc clutch supplier, we offer a wide range of high-quality clutches for 110cc motorcycles and ATVs. Our 50cc 70cc 90cc 110cc Clutch 18 Teeth For Atv Motorcycle is designed to provide smooth and reliable performance. It's made from durable materials and is built to last.
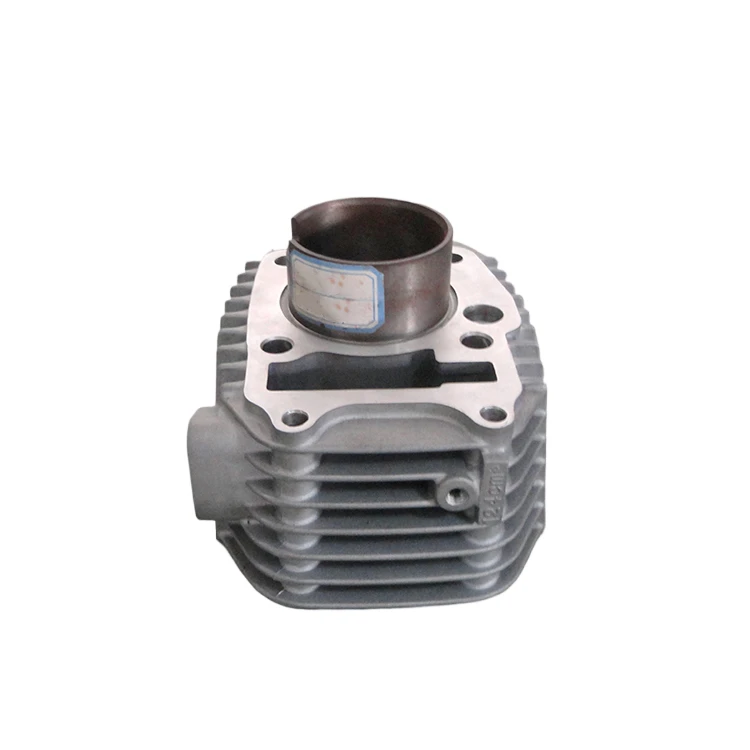
In addition to clutches, we also offer other motorcycle engine parts, such as the Motorcycles Engine Overall Complete Gasket Set For 110cc 125cc 250cc and the Motorcycle Engine Spare Parts Cylinder Block Comp. These parts are essential for maintaining the performance and reliability of your motorcycle engine.
Conclusion
Adjusting a 110cc clutch is not as difficult as it might seem. With the right tools and a little bit of patience, you can do it yourself and save money on expensive mechanic fees. Remember to check the free play regularly and make adjustments as needed to keep your clutch in top condition.
If you have any questions or need help with clutch adjustment or our products, don't hesitate to reach out. We're here to help you get the most out of your motorcycle. Whether you're looking to upgrade your clutch or need other engine parts, we've got you covered. Contact us today to start a purchase negotiation and get the best deals on high-quality motorcycle parts.
References
- Motorcycle owner's manual
- Online motorcycle repair guides